
Metroid Prime React Components
In this post I'll introduce a little project I've been working on, implementing some of the in-helmet heads up displays from the game Metroid Prime into React components. As always, source code's on Github, and here I'll share an overview on my motivation and an interesting challenge along the way.
Originally I thought of titling this "a first foray into design" or "a fresh look at CSS," but I still feel too unqualified to say anything that even suggests I have an idea of what I'm doing.
Why the heck?
Yeah I know, right? Metroid Prime came out almost 20 years ago, and Metroid Prime 3 is already well into its teenage years. However, despite the age of these games, I still think the Prime Trilogy is the most immersive first-person experience I've enjoyed, and I attribute much of that sense of immersion to the meticulous details etched into Samus's visor. I most appreciated the way HUD elements curve along the rounded helmet surface and how Samus's face reflects back on the glass pane in dark environments.
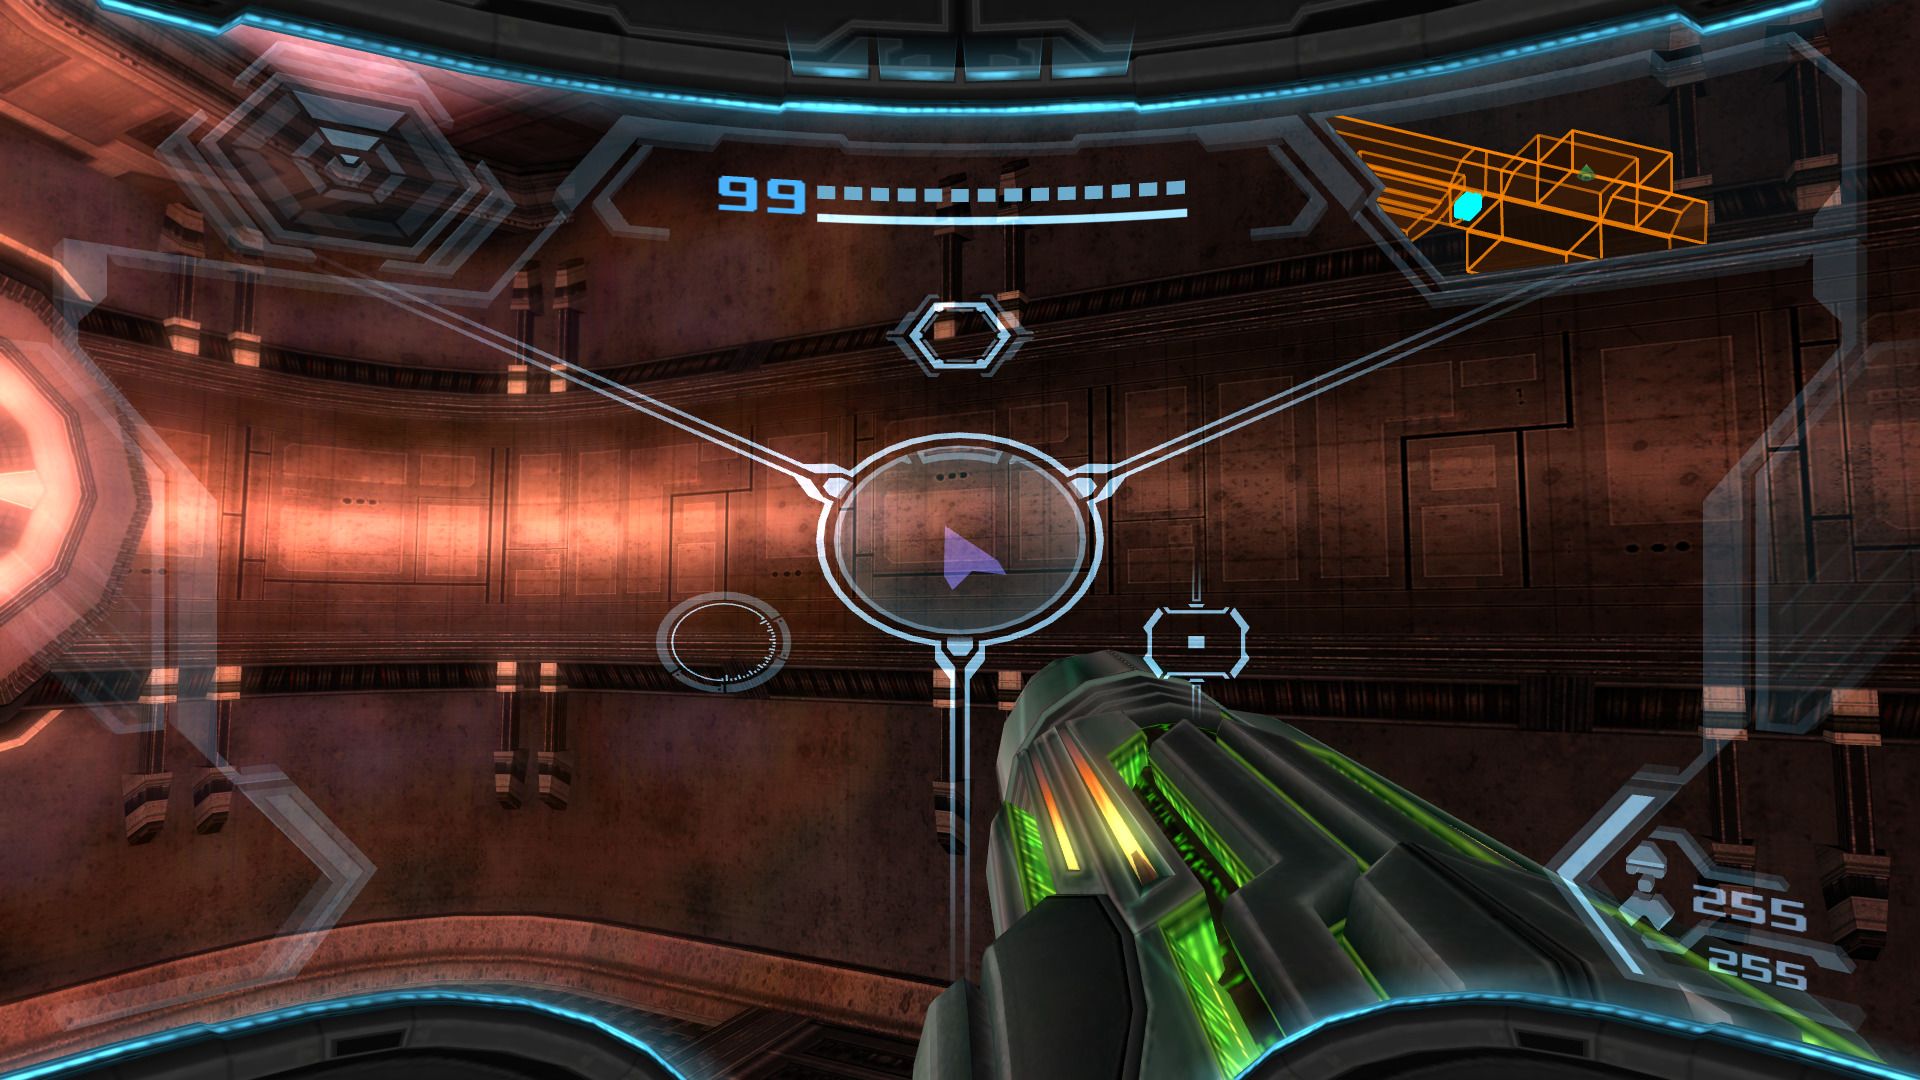
in-game screenshot
So I figured why not make this the inspiration for my personal home page? As a bonus, as far as I could find, this hasn't been done before.
I won't claim my execution's anywhere close to perfect, but you can see my current work on pelmers.com.
Details
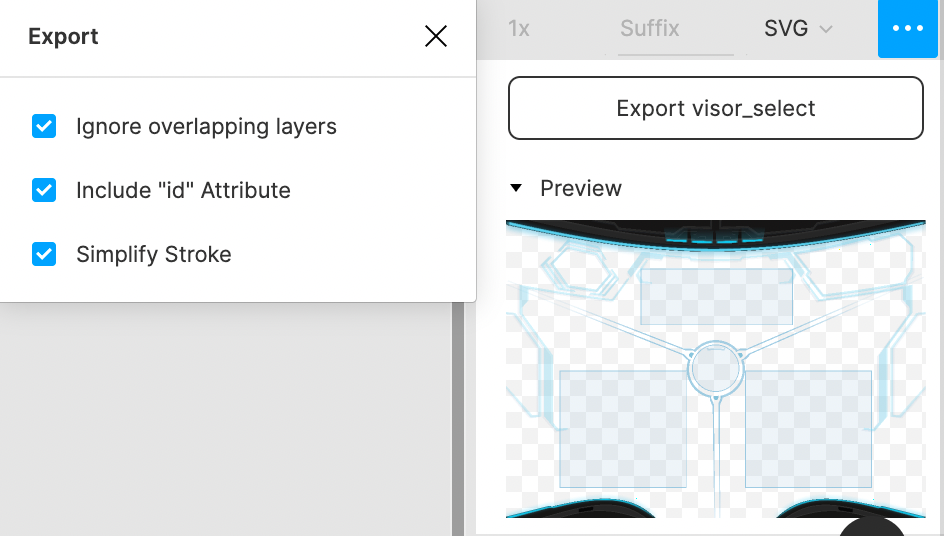
I constructed this design in Figma, tracing lines from screenshots of the game into scalable graphics for the web. If you happen to be reading this and thinking of trying it, I'd say you should just jump right in! It's much more approachable than Adobe tools at least, in my experience.

Once I have a design in Figma, the next step is putting in a web page and integrating that with regular HTML elements.
I'll spare all the details since the source code's available, but here are some tricks I've found along the way:
- export as SVG, and make sure "include id attribute" is checked. That lets you reference and manipulate items in JavaScript
- use the
svgrpackage to load the SVG file as as React component - try out the
perspectiveCSS property to let elements look like they're projected from onto a slanted surface - to make sure the design doesn't move with scrolling, set its CSS to
position: fixed; width: 100%; height: 100%
The interesting challenge
Do you see how on my home page the videos at the top left and right are neatly clipped into their HUD frames?
CSS supports a clip-path attribute that can hide everything that's outside an SVG path. Since the design's already an SVG, I figured it would be as easy as setting this clip-path value to the mask I drew in Figma.
However, it turns out that we're operating in two different coordinate spaces. The video, as a regular HTML element, is positioned in the DOM with display pixels, and therefore the value in clip-path is interpreted according to the client's window. On the other hand, when the SVG background is scaled to 100% of the client area, its internal coordinates don't change!
What does that mean? For example, suppose my SVG has an original viewport of 100x100px. Now I'm showing it on a client window of size 200x200px. Naturally, I can set the SVG to the larger size without issue. But any items inside the SVG (in this case, the clip mask) will still have paths corresponding to the 100x100 size! That means when I use it to clip content, the content will both be too small and positioned incorrectly because the CSS sees values that assumed a 100x100 viewport.
So how do I solve this? By manually rescaling the mask path whenever the client's window size changes (click for corresponding source code):
- compute the ratio from SVG viewport to client area
- parse the mask's path attribute in JavaScript
- scale all pixel values in the path with the computed ratio
- overwrite the original path with this rescaled version
That's quite a bit of activity on every resize!
Next ideas
I'm thinking about turning this whole blog into the same theme too, but for now at least haven't settled the design yet. My "ideations" include making the energy bar at the top show current reading progress in an article and having the missile counter at the bottom display pagination.
View Comments